Windows 10 has always offered the ability to mirror your computer’s screen to any device (mobile, steaming box, dongle, or TV) compatible with the popular Miracast standard. This can be done securely and without an internet connection, and Windows 10 comes with a built-in feature to facilitate the service.
In Windows 10, screen mirroring feature lives inside the quick settings of the Action Center and you can also access it from Start Menu. In older versions of Windows 10, Microsoft allowed users to click on the ‘Connect’ button near the bottom of the Action Center’s screen to access the pairing screen.
After you click on the ‘Connect’ button, you’ll see a list of available Miracast display devices within this menu and you can click on the supported device to begin the Miracast connection process.

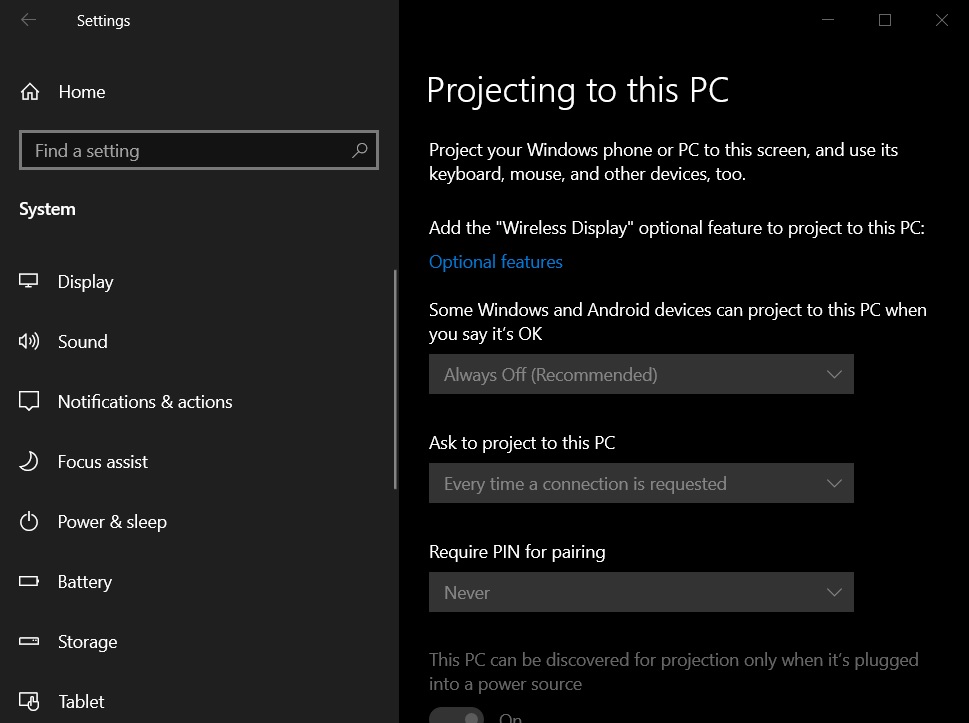
This feature is also found under Settings > System > Projecting to this PC, but after installing Windows 10 version 2004 (May 2020), you’ll notice that you can no longer access anything within the “Projecting to this PC” screen.
May 2020 Update has updated this screen with a note that reads: Add the “Wireless Display” optional feature to project to this PC.
Windows 10’s Wireless Display feature is not entirely removed from your device and it’ll continue to use space on your hard drive, but you can now enable or disable it as needed.
By default, Miracast is disabled on Windows.
While you’re in Optional Features page within the Settings app, you’ll see a long list with all the optional features you can manage.

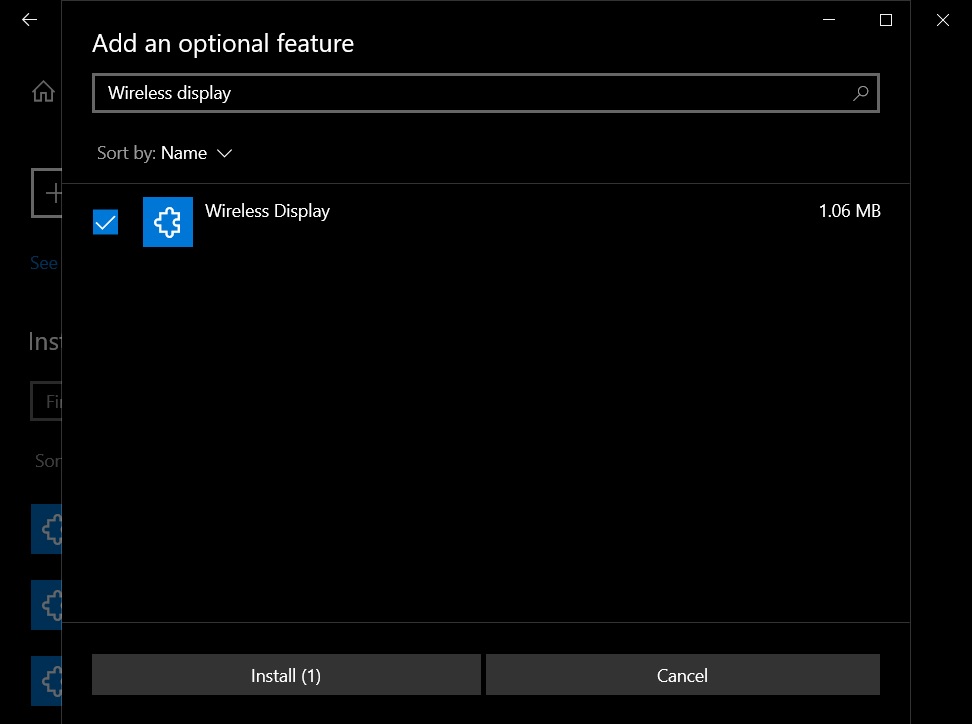
You can search for ‘Wireless Display’ and click on the checkbox. When you select the feature, you’ll notice a button to “Install”, which will redirect you to the installation screen and unlock the projection page in Settings.
In a support document, Microsoft has also confirmed that the built-in screen mirroring feature is now optional in Windows 10 version 2004 or newer.


